May 24, 2021
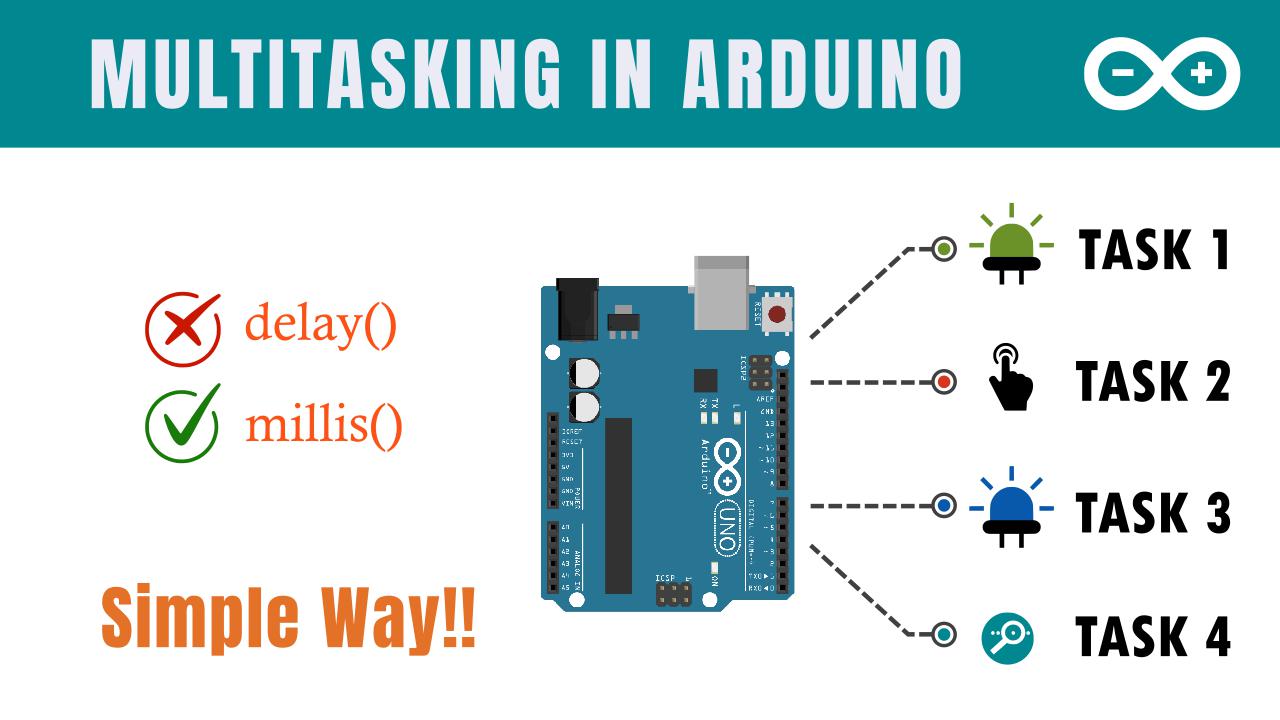
How to do multiple tasks in Arduino
To watch it on youtube, Click Me
Have you ever felt difficulties while trying to do multiple tasks in Arduino?
If yes, this post is for you  .
.
Let’s say you want to execute several tasks at the same time. For example:
- Reading data from Serial Monitor
- Blinking some LEDs
- Monitoring some external sensors
- Sending data to the server after some time interval
With classic style of programming, may be you won’t be able to do these tasks. The problem is that Arduino is not built to do multiple tasks at the same time. It doesn’t support Multithreading like any classic computers you have. It executes instructions one by one in a queue.
But the good news is… Still you can do some tricks to make it feel like Arduino is doing multiple tasks at the same time.
1. Choosing an example project
To understand things practically, let’s choose a project where we have to do 4 tasks at the same time. And I have told you… the same time means just creating an illusion of same time.
- Task 1 : Blinking an LED every 1 second
- Task 2 : Glowing an LED whenever the button is pressed
- Task 3 : Controlling the brightness of LED by user input from Serial Monitor
- Task 4 : Printing brightness of LED (Task 3) every 5 seconds.
For Task 3, User can input a number from 0 to 255 where 0 means
Totally Off1 meansFull brightness
2. Identifying Tasks that are affecting program workflow
After we defined our project objective, we need to identify the tasks that are affecting the program workflow.
Let me take Task 1 which is about blinking LED every 1 second. Here, We can define Task 1 with code below:
void loop() {
    // TODO: Task 1
    delay(1000); // wait for a second
    digitalWrite(LED1, HIGH); // turn ON LED
    delay(1000); // wait for a second
    digitalWrite(LED1, LOW); // turn OFF LED

    // TODO: Other tasks
}
In the code, delay(1000) is pausing the program flow. Arduino will execute another statement below it only after 1 second. Until 1 Second, it will wait in that line.
We need to cycle over tasks rapidly in a loop so that we can execute all tasks very fast.
Let’s put Task 2 in the code.
void loop() {
    // TODO: Task 1
    delay(1000); // wait for a second
    digitalWrite(LED1, HIGH); // turn ON LED
    delay(1000); // wait for a second
    digitalWrite(LED1, LOW); // turn OFF LED

    // TODO: Task 2
    if (digitalRead(BTN)) {
        digitalWrite(LED2, LOW);
    } else {
        digitalWrite(LED2, HIGH);
    }
}
Here, For glowing the LED whenever button is pressed, digitalRead(BTN) needs to be executed to read if BTN is pressed or not. But due to delay() function, the arduino will take time for task 1 to complete and then can read the button status.
So, we can conclude that Task 1 is affecting the program flow
And Is there any other tasks affecting the program flow? Yes… It’s Task 4 because It also waits for 5 seconds and print brightness.
To identify them, you just need to know whether the task is taking long time or not.
3. How to avoid delay and pause
Now, we need to avoid using delay()
There’s a great function in Arduino for you. It’s millis() function.
- Syntax:
time = millis() - Description: Returns the number of milliseconds that your Arduino board has been powered up or reset.
- Return Type:
unsigned long
millis() function in code:
unsigned long prevTime = millis();

void setup() {}

void loop() {
  unsigned long currentTime = millis();

  if (currentTime - prevTime > 1000) {
    doSomething();

    prevTime = currentTime;
  }
}
In the code, currentTime reads and stores number of milliseconds elapsed since you power on the Arduino. When currentTime is greater than prevTime by 1000 ms then doSomething() is called.
It means that doSomething() function is called every 1000 ms (1 second) without affecting the program cycle i.e. no delay/no pause.
So, we can use this concept to replace delay() function from our project code.
4. Replacing delay with millis() in our project
Replace the Task 1 code with millis() code we use above.
LED1_state = LOW; // at top of the code
void loop() {
    // TODO: Task 1
    // delay(1000); // wait for a second
    // digitalWrite(LED1, HIGH); // turn ON LED
    // delay(1000); // wait for a second
    // digitalWrite(LED1, LOW); // turn OFF LED
    if (currentTime - prevTime_T1 > interval_T1) {
        LED1_state = !LED1_state;
        digitalWrite(LED1, LED1_state);

        prevTime_T1 = currentTime;
    }

    // TODO: Other tasks
}
Do the same thing for Task 4. Difference is that we replace doSomething with Serail Printing Code.
5. Final Code
#define LED1 13
#define LED2 12
#define LED3 11

#define BTN 4

// set LED states
int LED1_state = LOW;
int brightness = 0;

// previous time for the tasks depending upon time.
unsigned long prevTime_T1 = millis();
unsigned long prevTime_T4 = millis();

// time intervals for the tasks
long interval_T1 = 1000; // blink every 1 second
long interval_T4 = 5000; // print brightness of LED3 every 5 seconds

void setup() {
  // put your setup code here, to run once:
  Serial.begin(9600);
  pinMode(LED1, OUTPUT);
  pinMode(LED2, OUTPUT);
  pinMode(LED3, OUTPUT);
  pinMode(BTN, INPUT_PULLUP);
}

void loop() {
  // put your main code here, to run repeatedly:
  unsigned long currentTime = millis();

  // Task 1 : Blink LED1 (T1)
  if (currentTime - prevTime_T1 > interval_T1) {
    LED1_state = !LED1_state;
    digitalWrite(LED1, LED1_state);

    prevTime_T1 = currentTime;
  }

  // Task 2 : Glow LED2 when BTN is pressed
  if (digitalRead(BTN)) {
    digitalWrite(LED2, LOW);
  } else {
    digitalWrite(LED2, HIGH);
  }

  // Task 3 : Read input from serial monitor (0-255) and then write to LED3
  if (Serial.available()) {
    brightness = Serial.parseInt();
    if (brightness >=0 && brightness <= 255) {
      analogWrite(LED3, brightness);
    }
  }

  // Task 4 : print the brightness of LED3 in the serial monitor after every 5 seconds
  if (currentTime - prevTime_T4 > interval_T4) {
    Serial.print("Brightness (0-255): ");
    Serial.println(brightness);

    prevTime_T4 = currentTime;
  }
}
6. Hardware Arrangement
