![]()
SiteG - A static site generator
Create and manage your site easily!
Home
View Demo
·
Report Bug
Table of Contents
Note: Go through this page: click me before moving forward because you will only learn some important rules and procedures available in SiteG.
Some Rules:
- Siteg supports images listed here.
- BMP
- EPS
- GIF (Only for
Images for post) - ICO
- JPEG
- JPEG 2000
- PNG
- TIFF
- SiteG does not show upload progress information so better upload small size images.
- Keep your website files safe because siteG cannot recover your site if anything goes wrong by human mistake or in case of lost.
1. Home Banner
Home Banner Subtitle
Hiting Enter will result in break of line.
Example:
 Result:
2. About Me
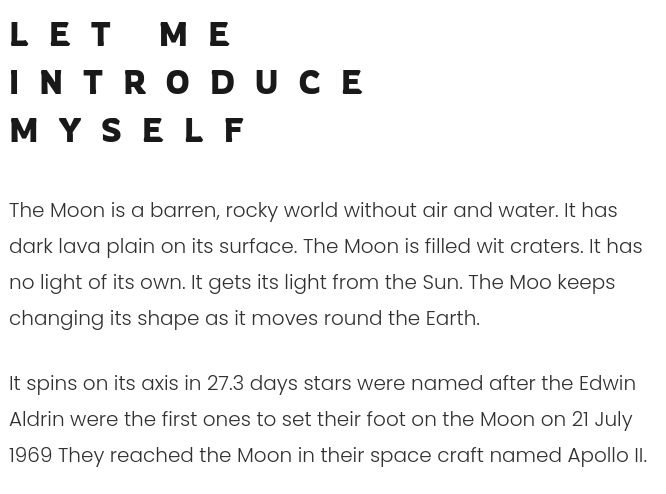
Your introduction
Hiting Enter will result change in paragraph.
Example:
 Result:
3. Contact Form
SiteG supports google form. So to include google form, you will need to follow some steps. Let’s see how.
- Open this link. Google Forms
- Click
Blankto get a new form.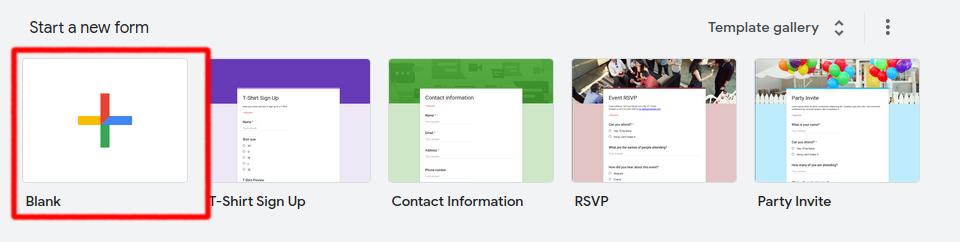
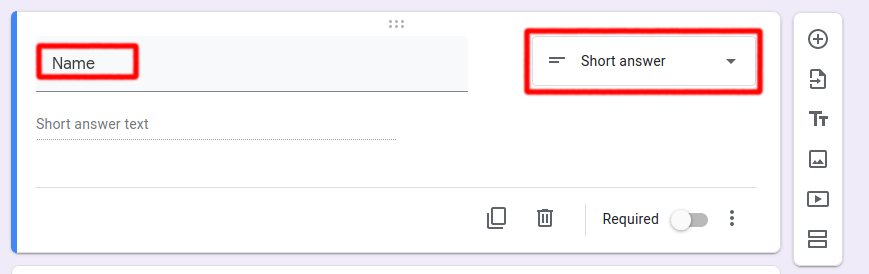
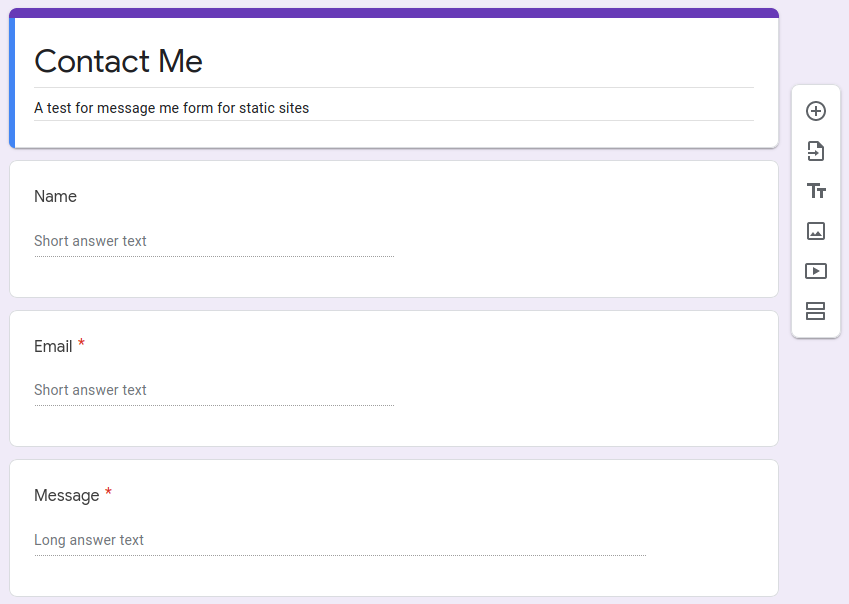
- First input should be like this.
- The whole form should look like this.
- Now get the link of the form. Click the
sendbutton.

- Copy the link from here.
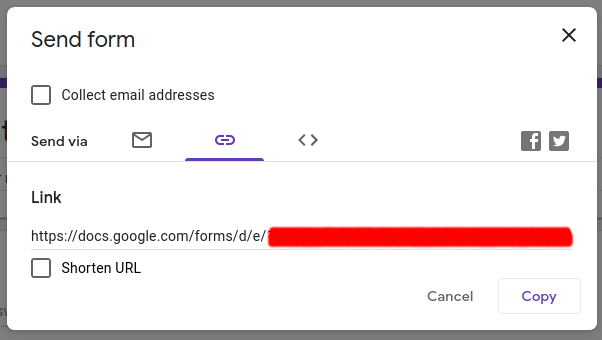
Replace/viewformto/formResponsein the link. It should look likehttps://docs.google.com/forms/d/e/<form-id>/formResponse. Paste it in the action input ofcontact section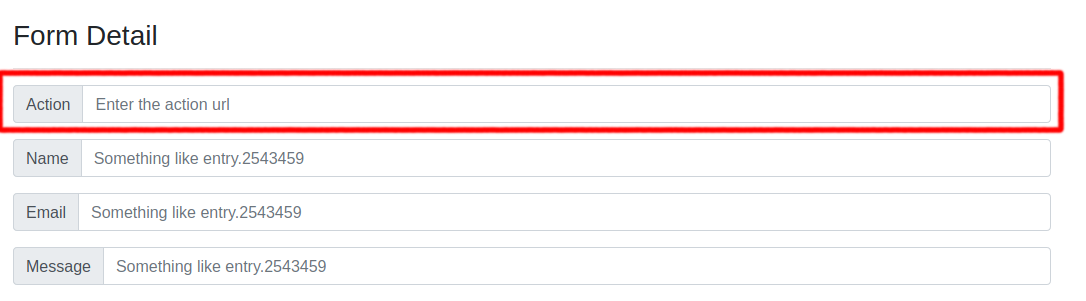
- For rest of inputs, paste the copied link in new tab of browser and Hit
Ctrl+Shift+Ito open inspector and Focus onsearch HTMLas shown in red box.
 Now, search for “
entry.” and you will see like this.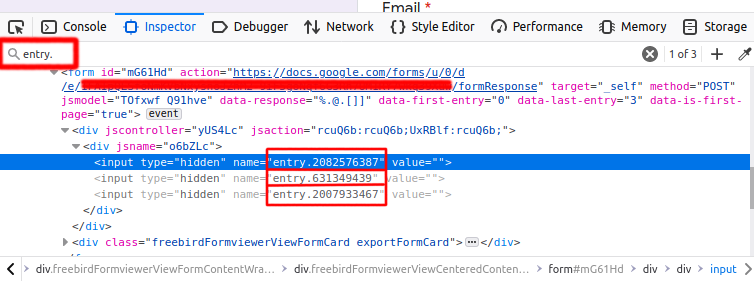
First one is for
name
Second one is foremail
Third one is formessage
Hurray! Form can now be submitted from your site.
4. Posts
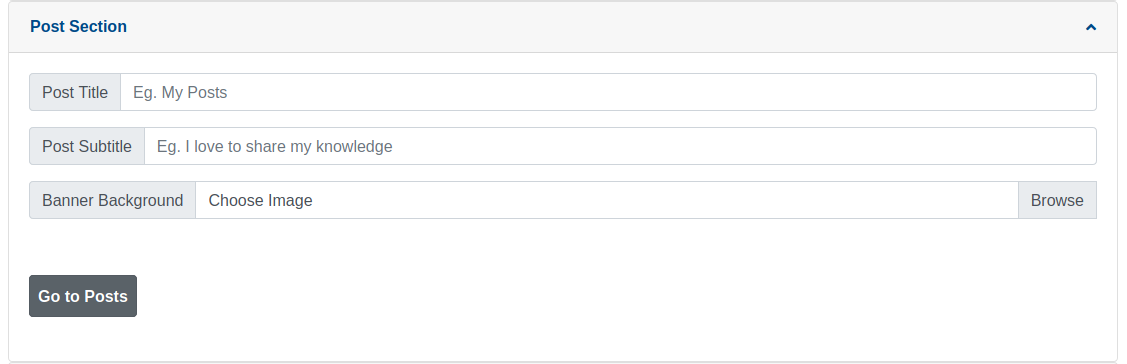
Click Go to Posts to post or edit articles. After clicking it, you will go to Category section. Category is here just to tell people what kind of posts you are writing.

Add a category and click it to go to post section.
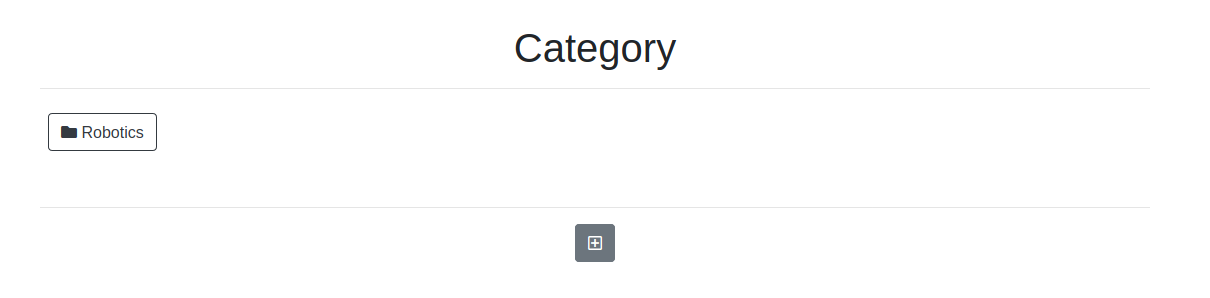
If you want to delete or rename it, just right-click the category folder.
 See!! Its that simple.
Now, Let’s add new post.
See!! Its that simple.
Now, Let’s add new post.
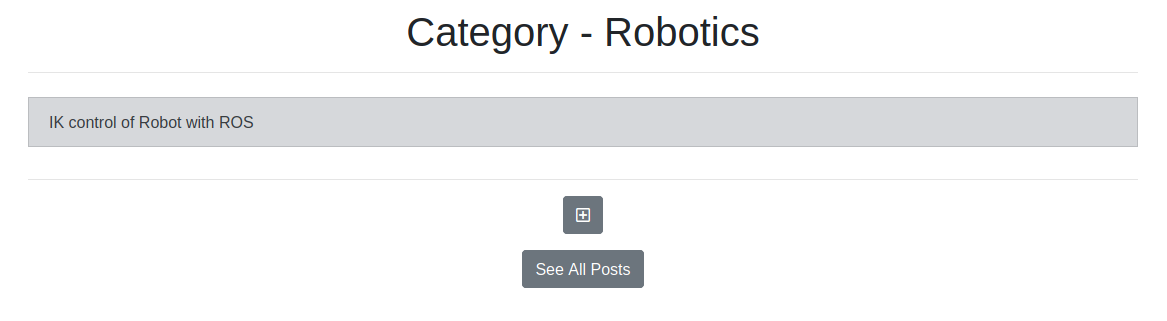
Click it and you will see a window like below:
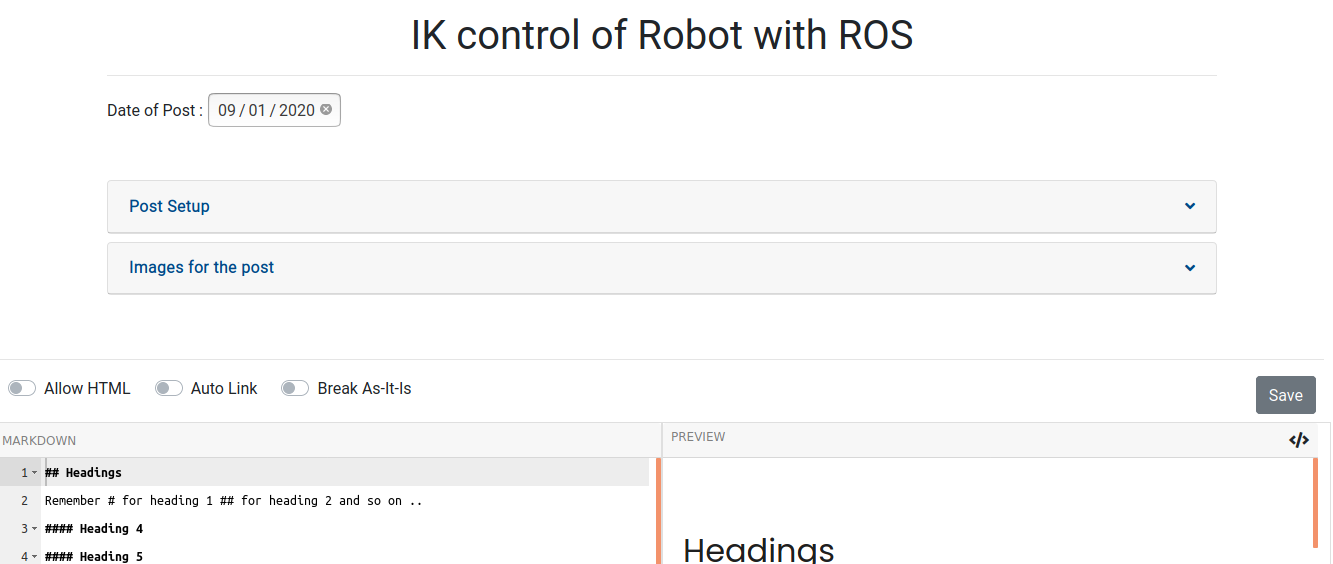
In Post Setup, you can write short descriptions and keywords about the post.
Next is Image for the post. Here, you have to add the images you want to add in the post article.
Third is Markdown Editor. You can write post in markdown format. Also enabling Allow HTML will allow you to write in html format. You can learn to write markdown from Common Mark. As it supports syntax from Common Mark, I would recommend learning from there. It’s so easy and interesting than writing normal documents. :happy:
A demo file is already loaded in the editor to help you.
Things you need to know while writing markdown:
- Heading: Do not use Heading 1. Start from Heading 2 and so on.
-
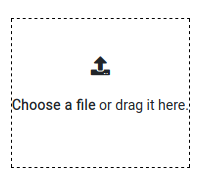
Image: For uploading image from your PC, First upload the image in
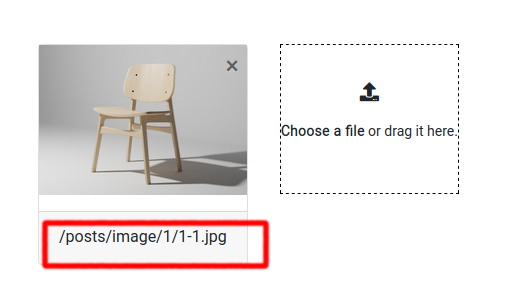
Image for the post. Then, copy the link generated below the added image and paste the link with image syntax in markdown. I will show a demo.- Upload the image
- Get File Path
- Go to Markdown Editor below and hit
Ctrl+SPACEto get image snippet.
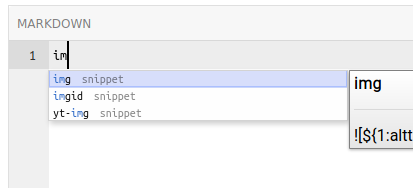
- Now hitting
Enterwill produce a img code like this.
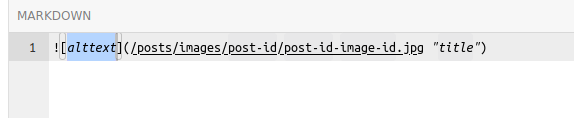
- Replace
alttextwith image description and pressTAB. and give post id and image id. In this example, post-id is 1 and image-id is 1. Now it should look like this.
- Upload the image
5. For modification
If you want to edit the site layout, go to the siteg location and navigate to:
SitegCore/baseHTMLfor changing html layoutSitegCore/site_files/outputfor changingcss,jsfiles.SitegCore/templatesfor changing html layout ofsite managerSitegCore/staticfor changing css,js files ofsite manager
License
Distributed under the MIT License. See LICENSE for more information.
Contact
Amrit Aryal - @amritaryal44 - [email protected]
Project Link: https://github.com/amritaryal44/siteG