![]()
SiteG - A static site generator
Create and manage your site easily!
Explore More »
View Demo
·
Report Bug
Check your version by $siteg --version in terminal/cmd
New version available (0.0.4):
- fixed ‘not found’ page when sending message from contact section of post pages.
Table of Contents
About The Project
SiteG is a static site generator with automatic management techniques. It is specially designed for portfolio websites. A user is able to manage galleries, posts and services easily. It also have ‘search site’ feature. SiteG allows user to use markdown for writing posts with its own markdown editor (powered by ace editor) with useful snippets. It also have drag image feature for using the image in the post.
SiteG supports google form for the contact form. User have to manage the
form with their google account and follow instructions as per siteG says.
User have to configure the site providing information and the site is ready
to be pushed to the server.
Special Features:
- Automatic related posts and recent post generation.
- Automatic pagination of posts page.
- Site Search with provided keywords.
- Automatic listing of related sites.
- It has its own post editor with useful snippets and common features to other editors.
- Automatic image compression and resizing.
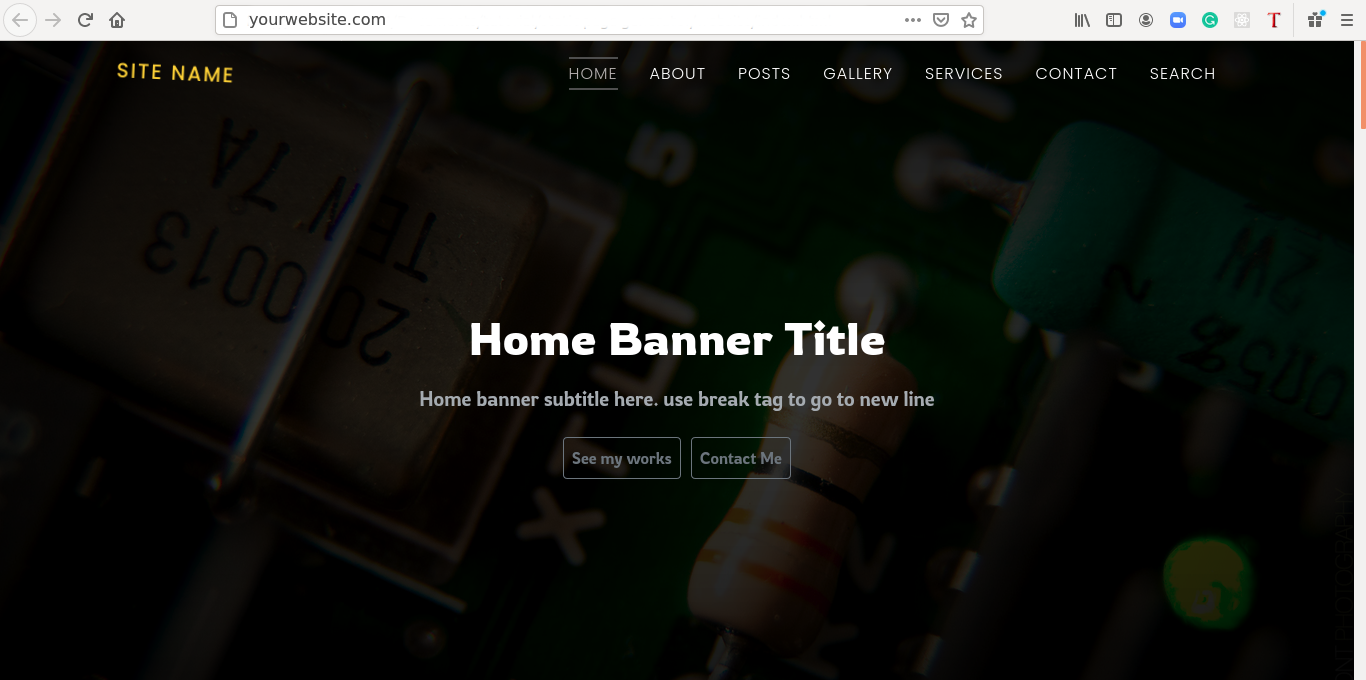
SiteG works on a template with limited feature. I use the template as most commonly used features in portfolio.
Built With
Getting Started
Installation
Using Windows
- Download the setup file from here
- Run the setup file
- Copy the program folder where
siteg.exelies.
By default it isC:\Program Files (x86)\The Next steps are not mandatory but to access siteG from anywhere, I would recommend to follow them too. - Open Run by pressing
Win + Rfrom keyboard and typesysdm.cpl - Now, System Properties dialog should appear. Go to
AdvancedTab and clickEnvironment Variables.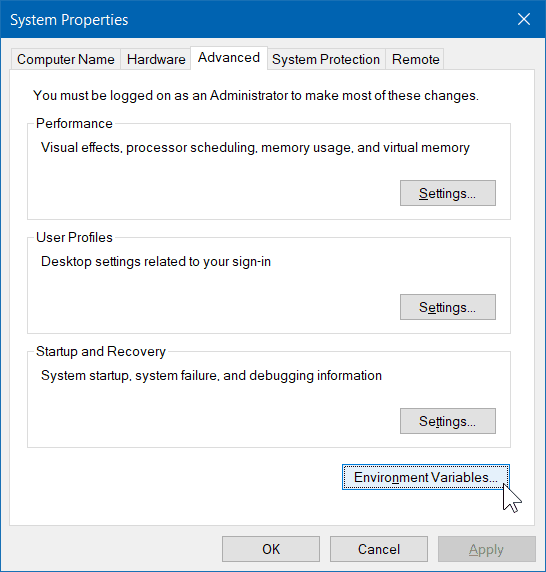
- Below
System variables, You will findPathinVariablecolumn. Select it and ClickEdit...button.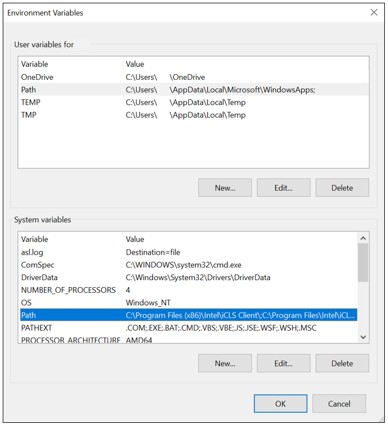
- You will see paths separated with
;
Example:C:\Program Files;C:\Winnt;C:\Winnt\System32Now, paste the copied path here following;.
Now it should look like:
C:\Program Files;C:\Winnt;C:\Winnt\System32;C:\Program Files (x86)\SiteG
Hurray! Now you are done with installation part.
Using Linux
- Download the tar file from here
- Extract the tar file to /home.
The Next steps are not mandatory but to access siteG from anywhere, I would recommend to follow them too. - Run the terminal (Ubuntu: Ctrl+Alt+T) and type :
$ nano ~/.bashrc - Navigate to the bottom of the file and add this :
export PATH="$PATH:/home/<username>/siteg"The path here is actually the path where siteg folder is residing.
Hurray! Now you are done with installation part.
Usage
Now, Let’s use the siteg to create website.
Creating Website
- Navigate to the location where you want to create your website and run terminal(linux) or cmd/powershell (windows).
- Linux users : Simply right click on the folder and click open in terminal.
- Windows users :
Shift+ Right Clickand click “open command window here”/”open power shell here”.
OR
You can also type cmd into the Windows File Explorer address bar (useCtrl+LorAlt+Dto focus the address bar) and press Enter to open the shell.
- To create site, Type
siteg create <site-name>and navigate to<site-name>$ siteg create "my site" $ cd "my site"Or, siteg will automatically create “my site” folder.
 $ siteg create
 $ cd "my site"
Testing the site
Type
siteg testafter navigating to site folder.
 /my site$ siteg test

Server started at http://127.0.0.1:8000
Now Copy the link http://127.0.0.1:8000 and run it with your favourite browser. If you are a linux user, simply Ctrl+Click on the link will work. To quit, press Ctrl+C.
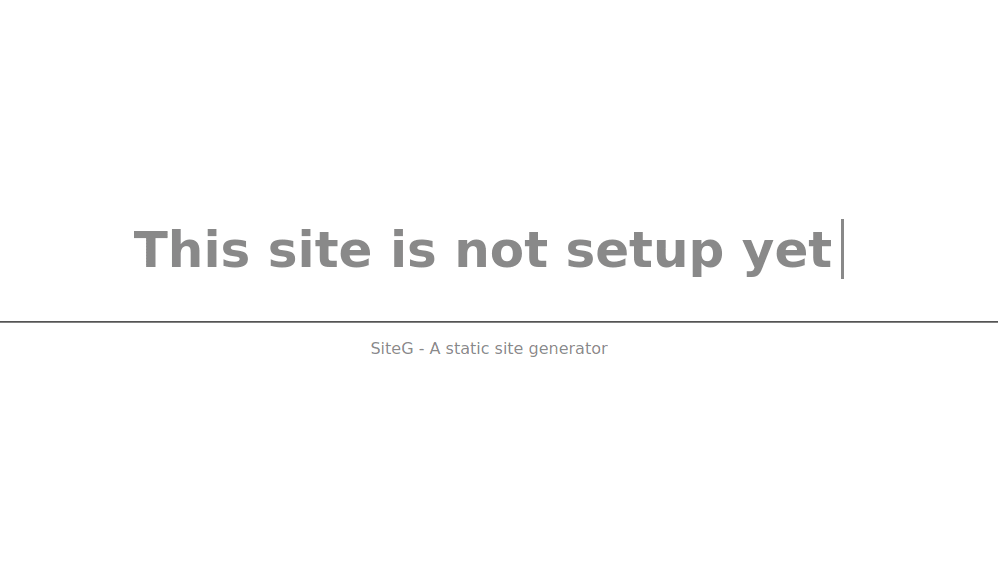
Since we have not setup the site yet, It will display this.
Setup Site
Type siteg run to run the site setup
/my site$ siteg run

 * Environment: production
   WARNING: This is a development server. Do not use it in a production deployment.
   Use a production WSGI server instead.
 * Debug mode: off
 * Running on http://127.0.0.1:5000/ (Press CTRL+C to  quit)
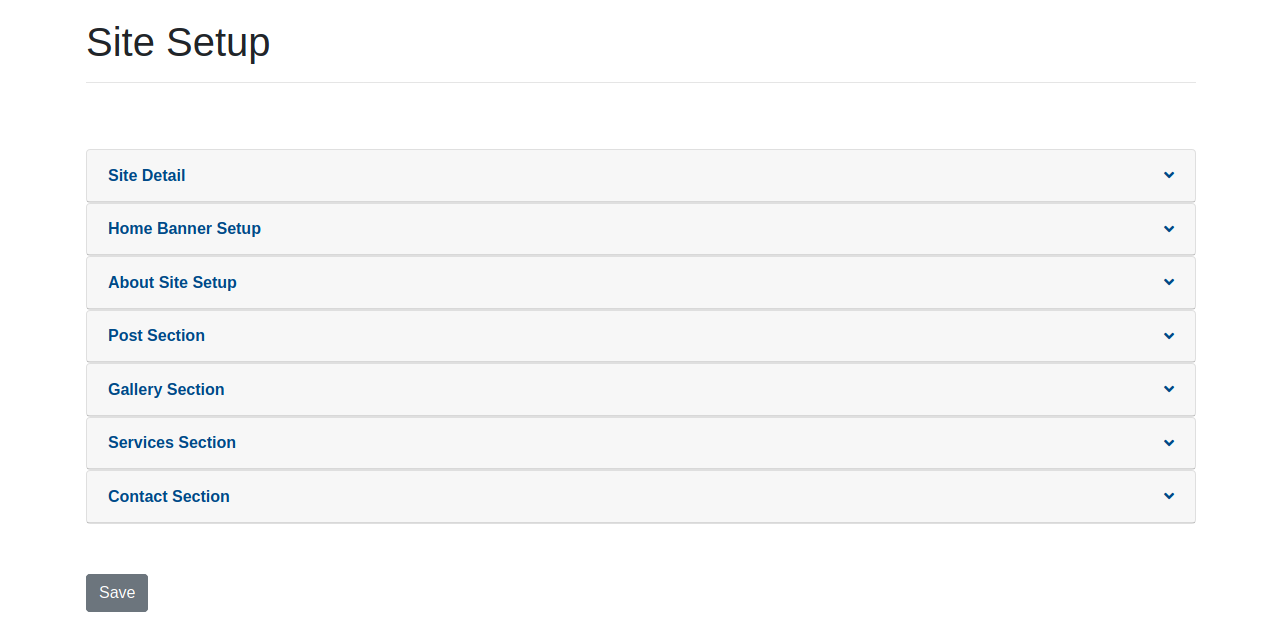
Fill all the inputs and click the save button. Add some galleries, services and posts.
Note: if you want to run the server in your smartphone, just replace 127.0.0.1:PORT to [your local ip]:PORT and paste it in your smartphone browser. Go to
outputfolder and this stores your site files. If you are git user then just initialize git here and push this as a repository.
You might be confused in the contact section for form. Please visit here to learn more.
For more examples, please refer to the this page
License
Distributed under the MIT License. See LICENSE for more information.
Contact
Amrit Aryal - @amritaryal44 - [email protected]
Project Link: https://github.com/amritaryal44/siteG